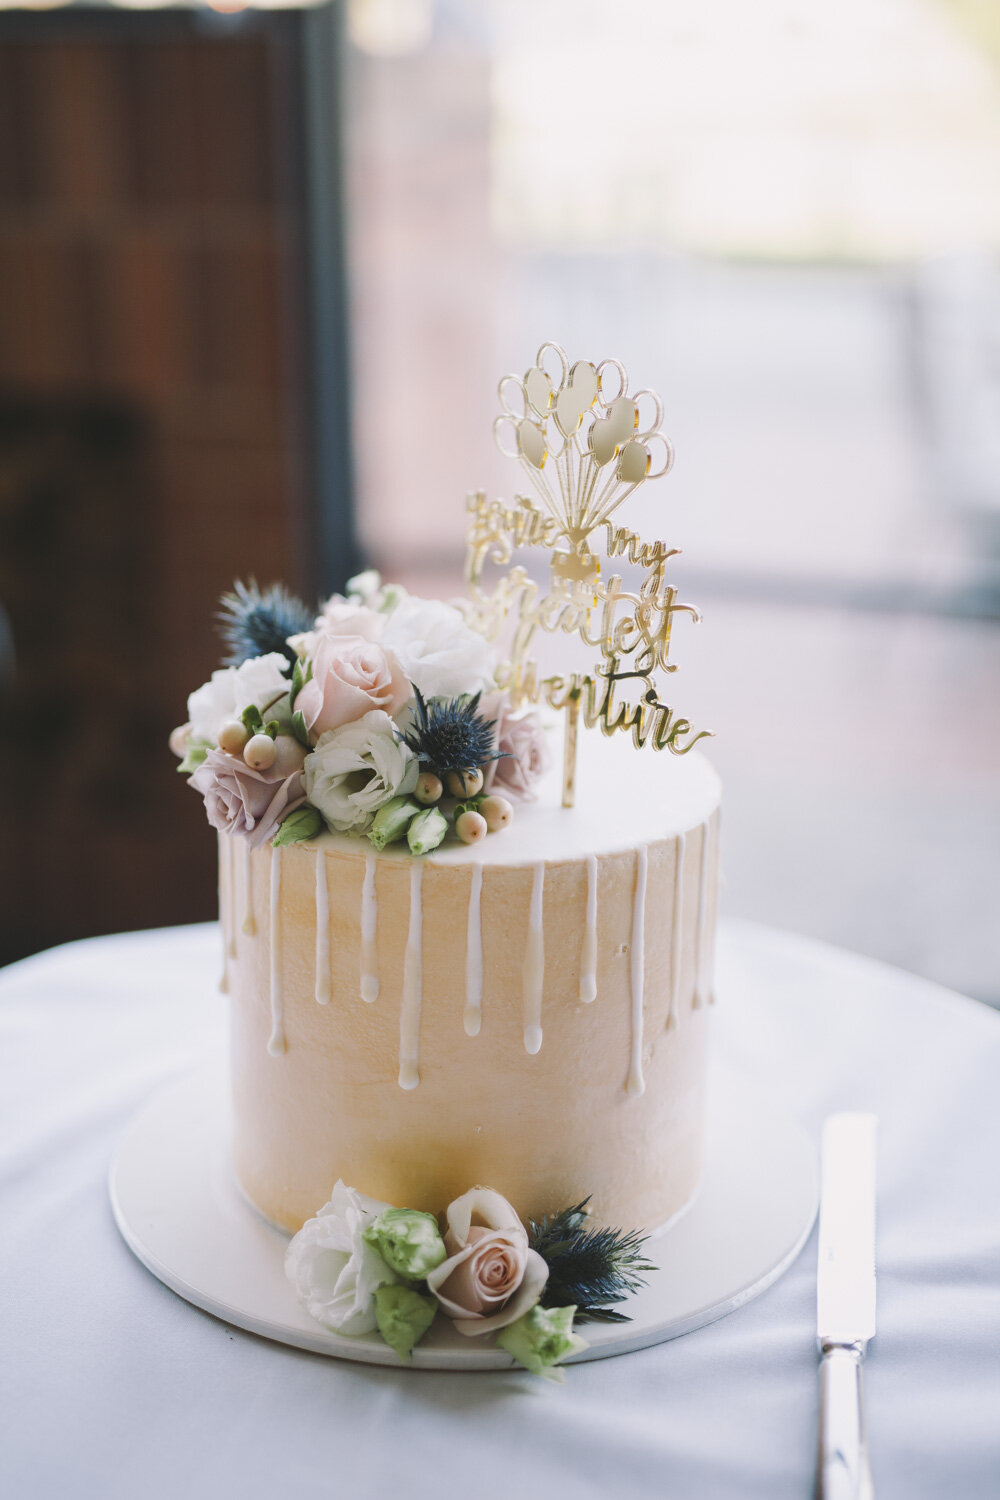
Tips for photography for wedding food and cake
From advertisements for food businesses, recipe blog posts, and your everyday Instagram posts, food photography is everywhere. And it's for good reason as well: delicious-looking images speak to your audience in a way that words can't. But 'delicious-looking' is key: at best, bland, unattractive photos of your food will be lost in the sea of well-lit, beautiful food photos out there. At worst, it can create a poor image for your brand and turn potential customers away from your business.
Of course, not everyone has the budget to hire a professional photographer, let alone invest in expensive equipment. In fact, for many, the only available camera is the one on their phone. But even if that's the case, don't worry: there are still a few things you can do to improve your food images. The thing to keep in mind is that lighting is what makes or breaks still life photography. So give the following cheap lighting tricks a go next time you need to shoot food:
1. Shoot in natural light
Even food photographers who can afford professional equipment will often eschew lighting gear in favor of that beautiful, free light source: sunlight. That's because natural light makes food look amazing: it makes colors look vibrant and appetizing, and creates soft shadows that make the image look more three-dimensional.
If shooting indoors, try to shoot near a large window so that the sunlight is hitting your food from the side. On the other hand, if shooting outdoors, avoid direct sunlight (which can cast harsh shadows) and opt for open shade. The time of day that provides the best light will, of course, vary depending on your location, but for many places, morning (about an hour after sunlight until an hour before noon) and early afternoon (1PM until about an hour before sunset) will give light that's bright enough but not too harsh.
2. Bounce light using white cardboard or foam board
Next time you photograph a dish, try holding up a piece of white cardboard or foam board beside it, on the side opposite the light source. You'll notice how it reflects light back onto the food. You can use this to brighten up areas where shadows are too dark.
3. Use cheap LED lamps
If you can't shoot somewhere with good natural light, you'll have to find a way to set up some artificial light. Fortunately, inexpensive cheap desk lamps with LED bulbs will do the job. The trick is to diffuse the light, rather than aiming the bare bulb directly on the food. A piece of trace or other lightweight, white paper held between the lamp and the subject will avoid creating harsh shadows.
4. Use a phone's flashlight
If even a cheap desk lamp isn't available to you at the moment, don't panic: a phone's flashlight will do in a pinch, as long as you find a way to soften the light. If you're shooting the photo using a phone, you'd ideally want to use a separate phone for the light so you can control the direction the light is coming from and hold it at least a foot away from the subject (holding the light too close can cast ugly shadows and create glare.) But if you only have one phone in hand, it can still work: just cover the light with some lightweight paper to diffuse it.


